Using Drones for Crop Health Mapping
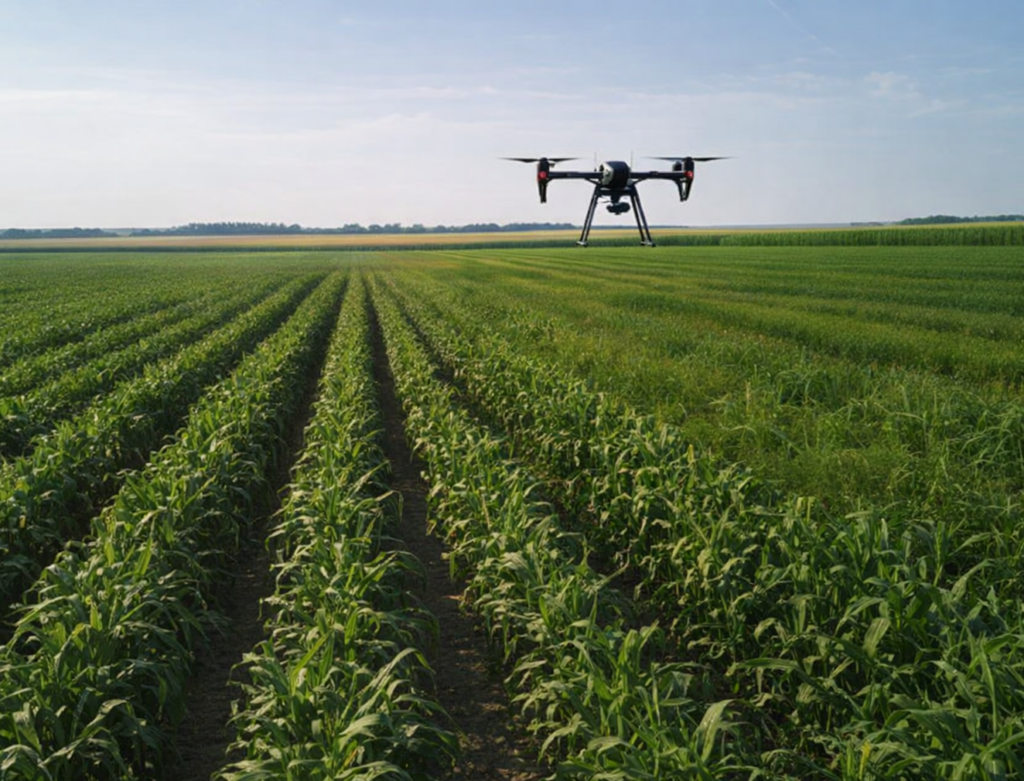
If you’ve ever walked a field wondering how the crop looks beyond the next hill, drones are your new best friend. They give you a bird’s-eye view of the entire operation, letting you spot problems before they turn into yield losses. Instead of guessing what’s happening in the back forty, you can see it all in one flight
.
Growers use drones to capture aerial images that reveal crop vigor, moisture stress, pest damage, and nutrient deficiencies. These images can be processed into maps showing where the crop is thriving and where it’s struggling. The most common maps are NDVI (Normalized Difference Vegetation Index) and NDRE (Normalized Difference Red Edge), which measure plant health based on how leaves reflect light.
The beauty of drone mapping is that it’s fast, repeatable, and scalable. You can fly the same field multiple times during the season and compare results. That’s how you turn pictures into decisions.
Step 1: Choose the Right Camera
There are two main types of cameras used for crop health mapping:
- RGB cameras — These are standard visual cameras that capture color images. They’re great for general scouting, storm damage, and stand counts.
- Multispectral cameras — These capture light in specific wavelengths (red, green, red-edge, near-infrared). They’re essential for generating NDVI and NDRE maps that show subtle stress before it’s visible.
Step 2: Plan Your Flight
Good data starts with good flight planning. Fly around 200 feet above ground level, keep 80% front overlap and 70–80% side overlap, and aim for midday when lighting is consistent. Avoid patchy clouds—they’ll make your maps look like a checkerboard.
Step 3: Calibrate and Capture
Before takeoff, use a calibration panel and sun sensor if your drone supports them. These tools help correct for lighting changes so your maps are accurate. Take a photo of the calibration panel before and after each flight.
Step 4: Process the Data
Once the drone lands, upload the images to Farm Done Maps. Their software stitches the photos into a single orthomosaic and calculates vegetation indices. You’ll end up with color-coded maps showing healthy (green) and stressed (yellow/red) areas
.
Turning Maps Into Action
Ground Truthing
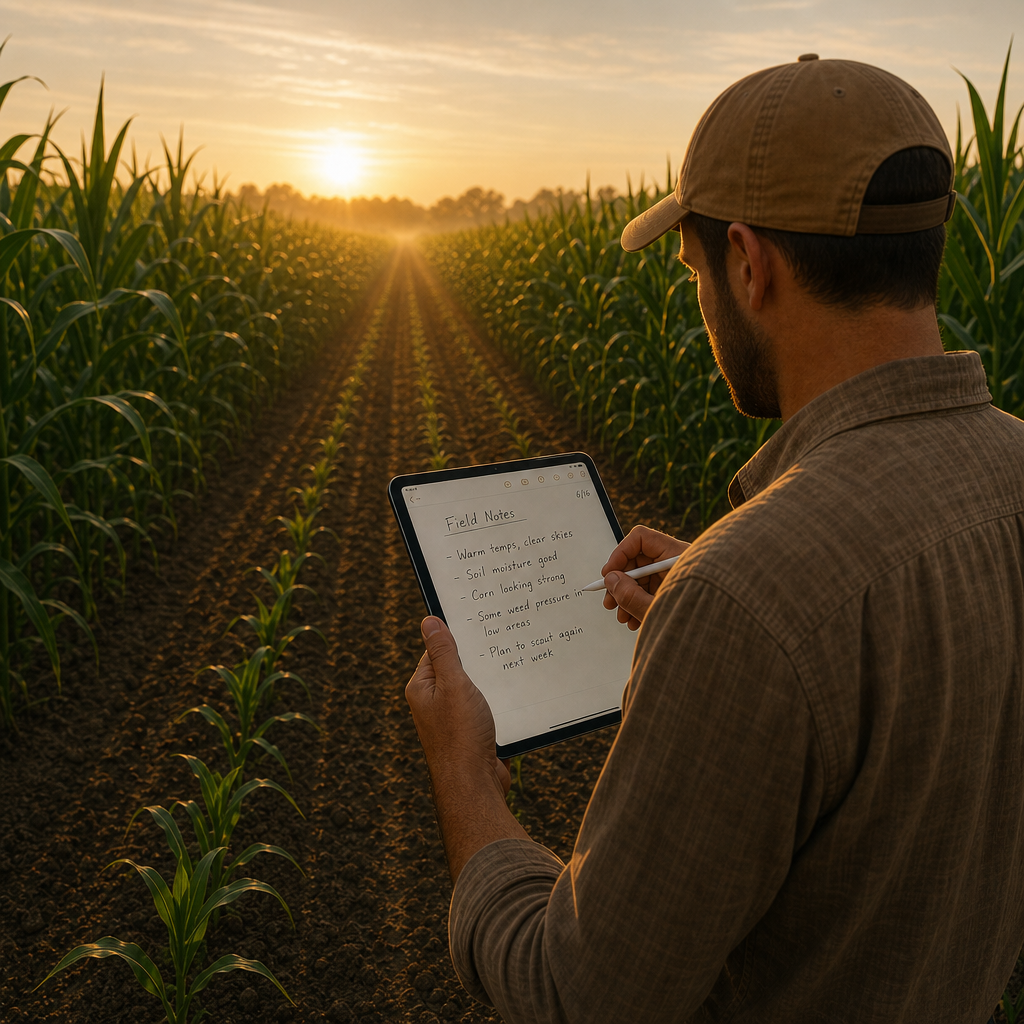
Maps are powerful, but they don’t tell the whole story. Walk the zones that look stressed and take notes. Is it nitrogen deficiency, compaction, water stress, or disease? Pair your drone data with field observations, soil tests, and tissue samples to pinpoint the cause.
Decision Making
Once you know what’s happening, you can act. Use the maps to guide variable-rate fertilizer applications, targeted fungicide treatments, or irrigation adjustments. Instead of treating the whole field the same, you focus resources where they’re needed most.
Consistency Is Key
The real value of drone mapping comes from consistency. Fly the same fields at key growth stages—early vegetative, mid-season, and pre-harvest. Over time, you’ll build a visual history of each field’s performance. Patterns emerge, and those patterns lead to smarter management.
The Bottom Line
Drones aren’t just gadgets—they’re tools for better decisions. They help farmers see what the crop is saying, long before it’s too late to respond. Whether you’re managing 40 acres or 4,000, aerial imagery turns data into insight, and insight into yield.
In short: Drones make farming more precise, more efficient, and more informed. Once you start flying, you’ll wonder how you ever managed without them.